How to Adjust Element' Size and Position
Elements which are coordinate with video clips can provide a good viewing experience for people. An indicative element clearly conveys the message of the video. Decorative elements make the video more exquisite. So the size and position of elements play an unavoidable role in the sound effect of viewing.
Then, how could you adjust elements' size and position for a better watching experience? The answer is MovieZilla where you can take a few steps to do it effortlessly. Here come detailed steps so as to guide you to adjust elements' size and position easily via using MovieZilla.
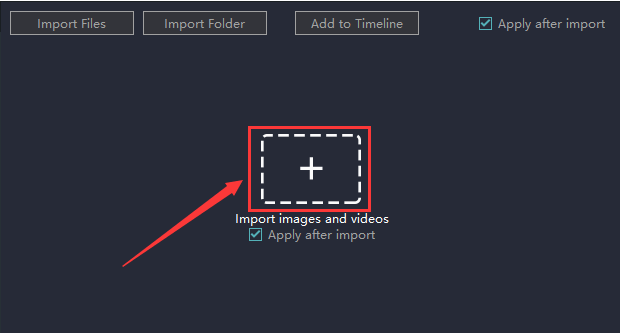
Step 1: Import video files
Initially please open the MovieZilla and click the "+" in an attempt to import videos you aspire to share with people.
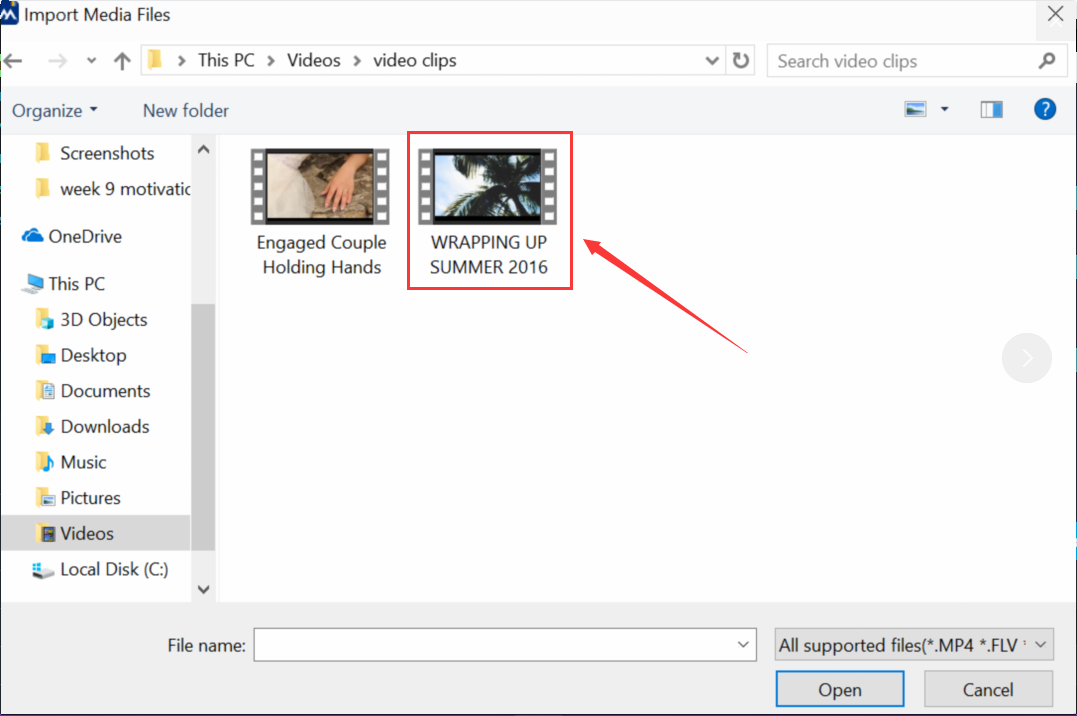
Involuntarily, it will jump out a window for you to choose videos on your computer. And what you should do is to select one you require adjusting elements' size and position and click the "Open".
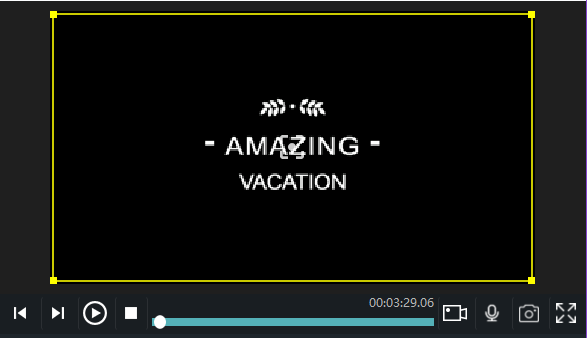
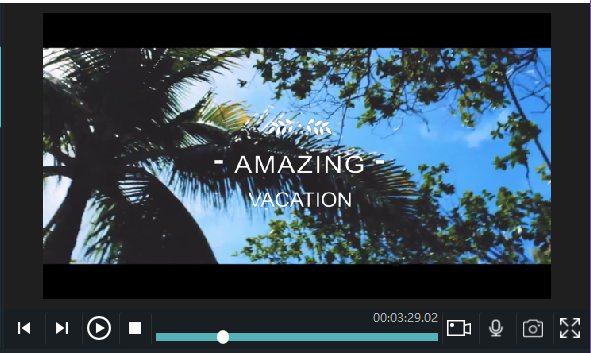
Then you will find it on the timeline and the upper right corner of the screen.
![]()
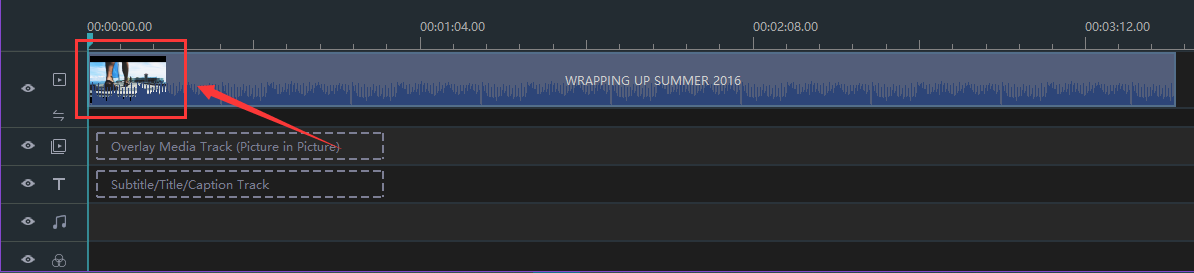
Step 2: Place the element
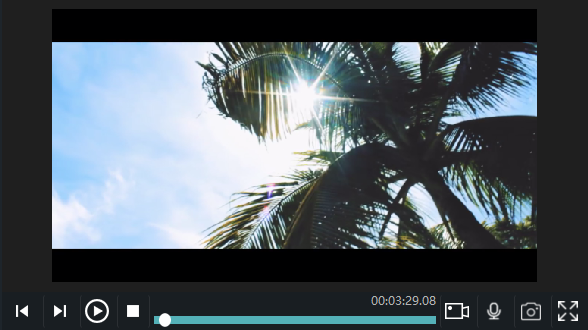
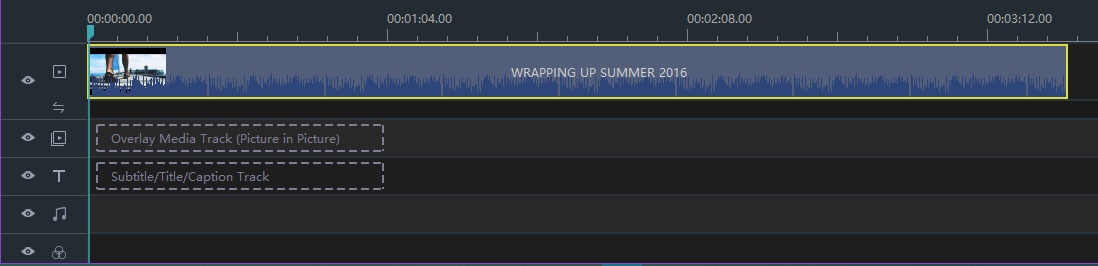
When you click the mouse in the video display area, there appears the square frame with yellow lines.
Subsequently, you are supposed to click "elements" to embellish your video.
![]()
This was then followed by a window that is filled with elements of various types come with the software, which concerning badge, emoji, hand-painted, love, sale, social and titles, static and travel.
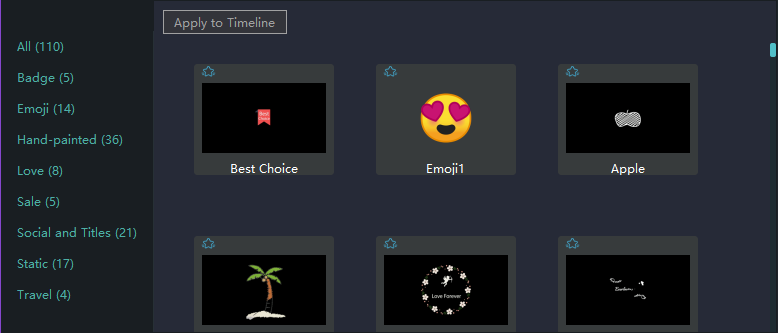
And you can choose the element you prefer and click it. When you pitch on it, the elements will be surrounded by the square frame with the yellow line.
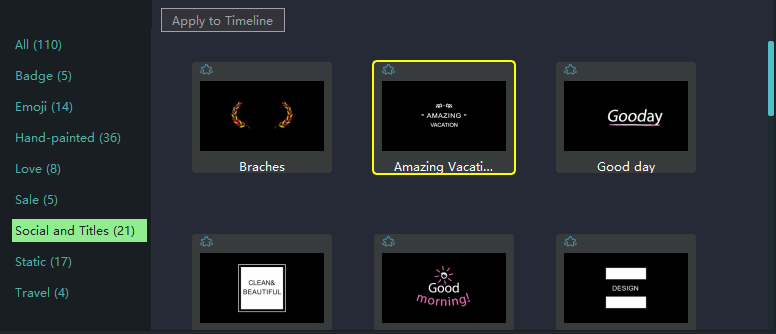
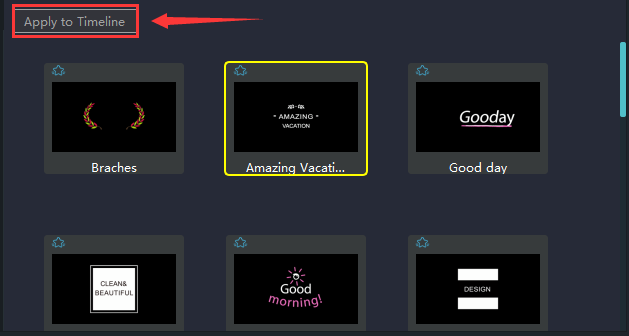
Then you can drag the element to the optional position on the timeline or click "Apply to Timeline". When you click "Apply to Timeline", the element will automatically be placed at the beginning of the timeline.
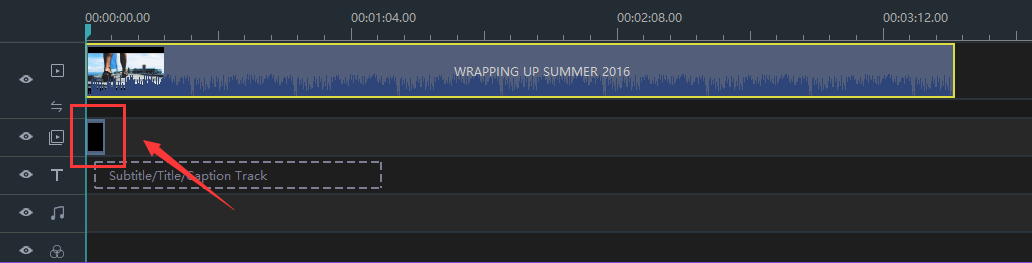
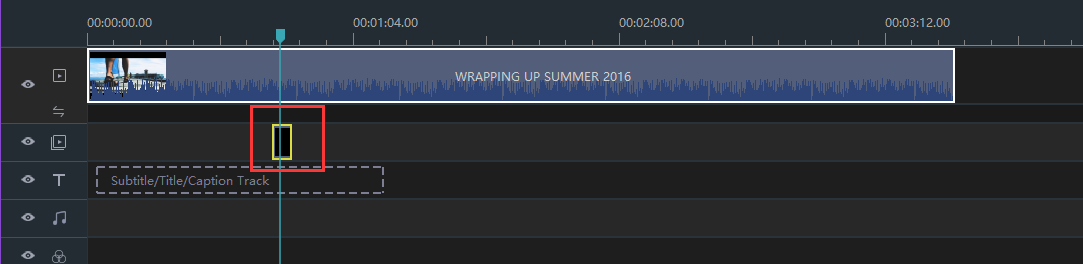
And when you drag the element, the hand and the square frame with green line which indicate where this will be parked.
Step3: Enter edit mode
The location of elements in the video particularly is of great importance. In order to transform the position of the element, you should double-click the picture on the timeline.
And the element you select is covered with the video from your upper right.
On the left side of it, parameters for the modified element will appear in your vision.
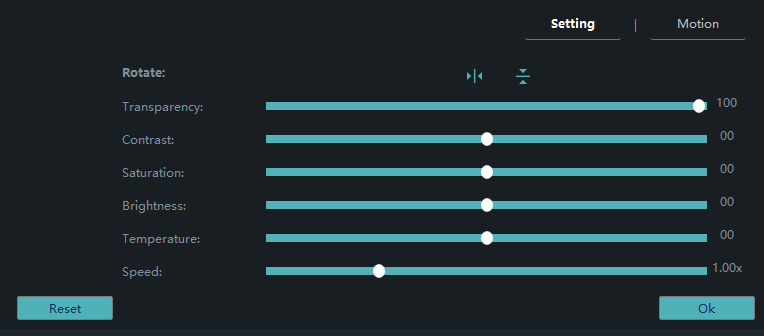
When you put the mouse on one of corners of a square, there will appear a two-way arrow. Drag the two-way arrow to the size until you feel comfortable. You can also drag the entire element to the position you are gratified with.
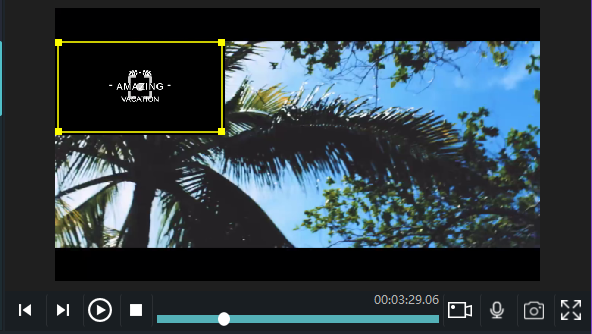
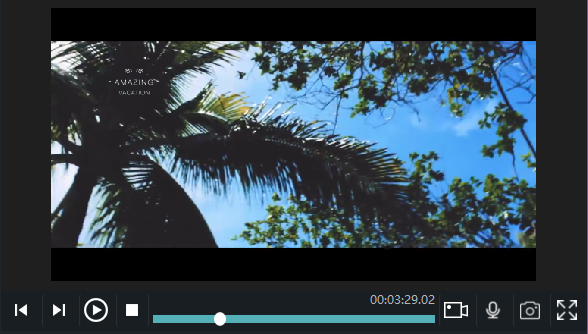
Having adjusted the position of the element, you can see the difference between the two pictures before and after the modification as shown below.
Step4: Export the video
Last but not least, you should remember to click "export" to save your videos.
![]()
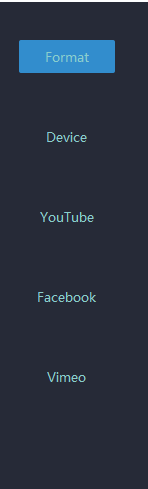
You can pick out the terrace you want to upload to among YouTube, Facebook and Vimeo. You can also choose the format and device to save it on the computer.
Rename your video and ensure that the saving location is right.

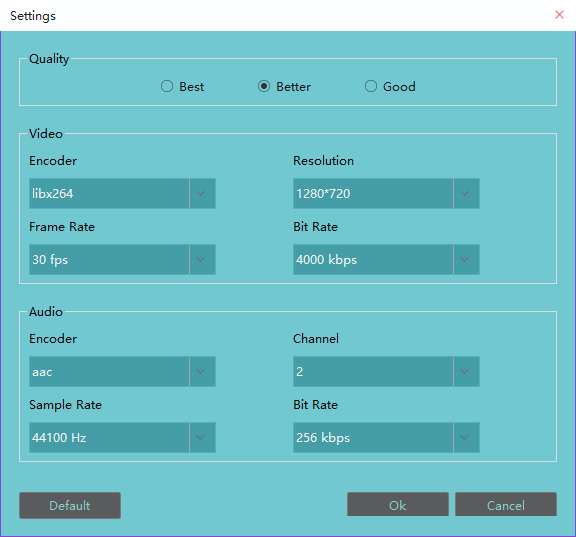
The settings for resolution are also available for you.

On this panel you can modify detailed parameters of settings.
Click "export" and you accomplish adjusting elements' size and position without difficulty with these steps above.
Hope this passage could offer you some aid in adjusting elements' size and position.