How to Change the Playback Duration of Images
Sometimes, we want to extend or shorten the playback duration of images in your slideshow. Then, how to do it simply? The answer is MovieZilla, a popular software. With a few clicks, and through some simple steps, your slideshow will reborn.
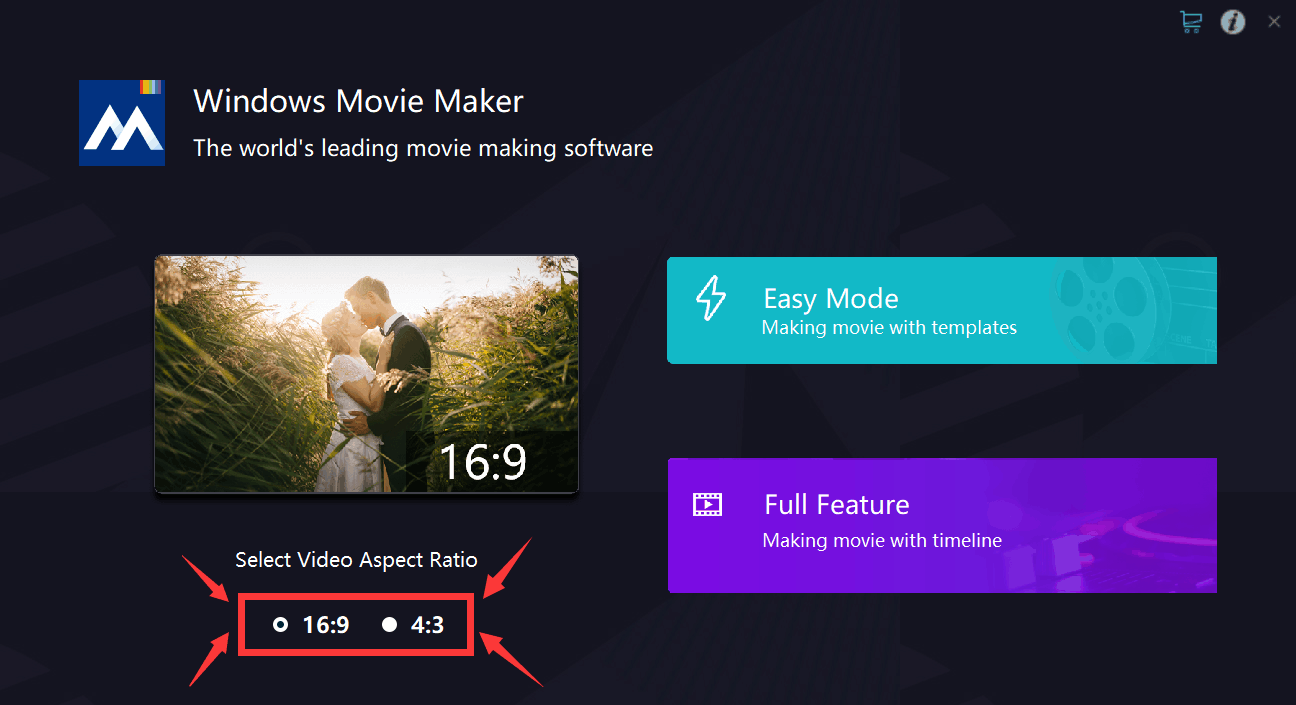
Step 1: Open MovieZilla
First, double click your MovieZilla to open it. Then choose the length-width ratio of your slideshow.
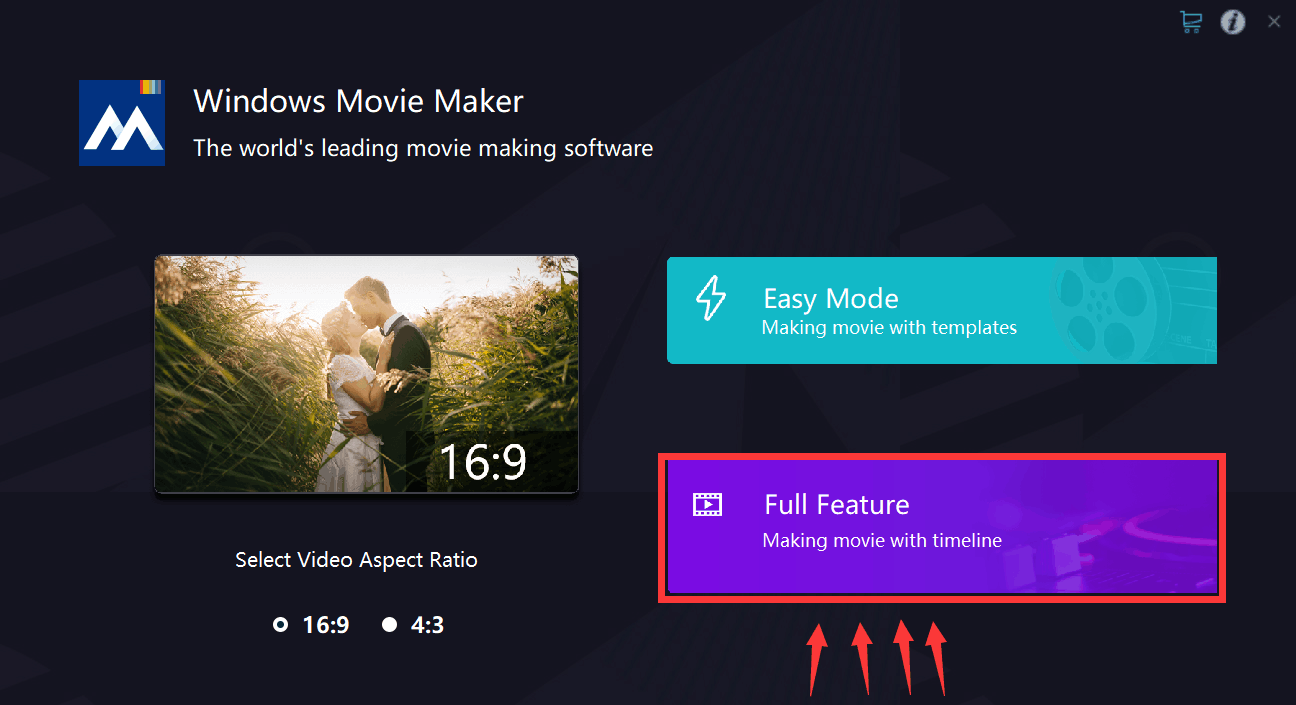
After that, click the purple rectangle on the lower-right corner.
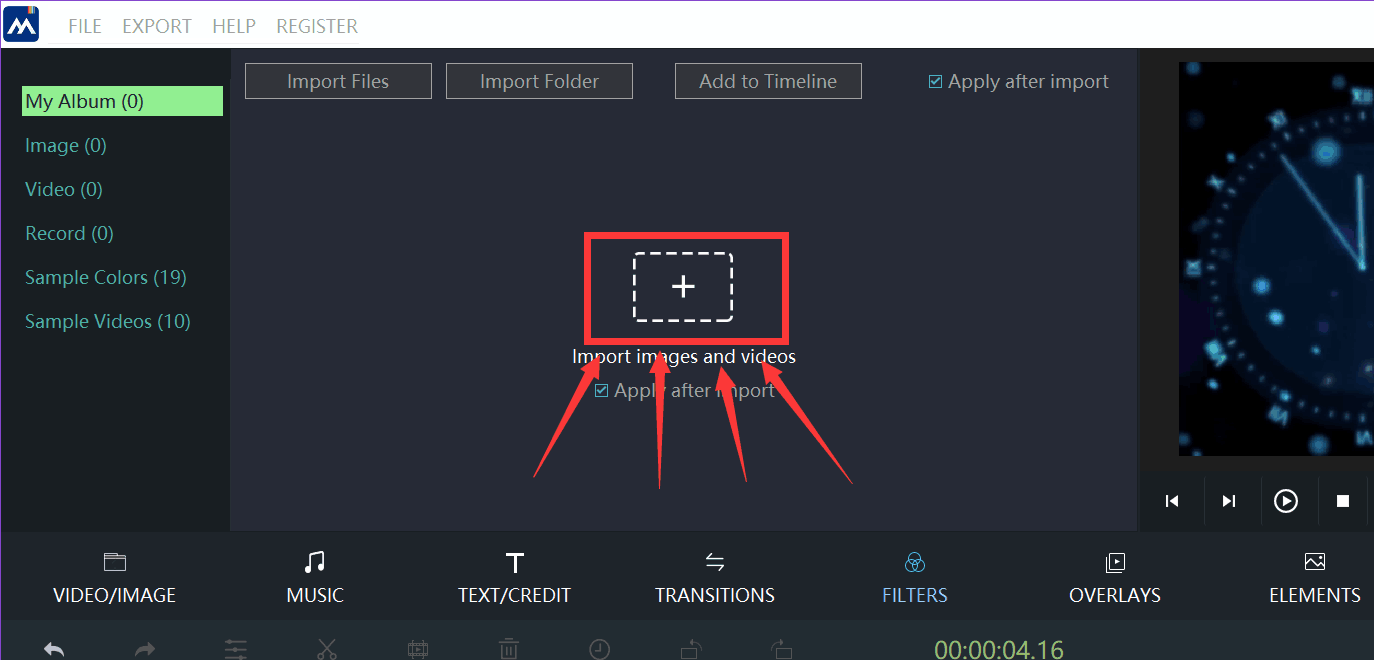
Step 2: Import files
Next, you will see exact the same image as the picture below. Click the "+" to import your slideshows or images to this software.
Locate your image, and then click it.
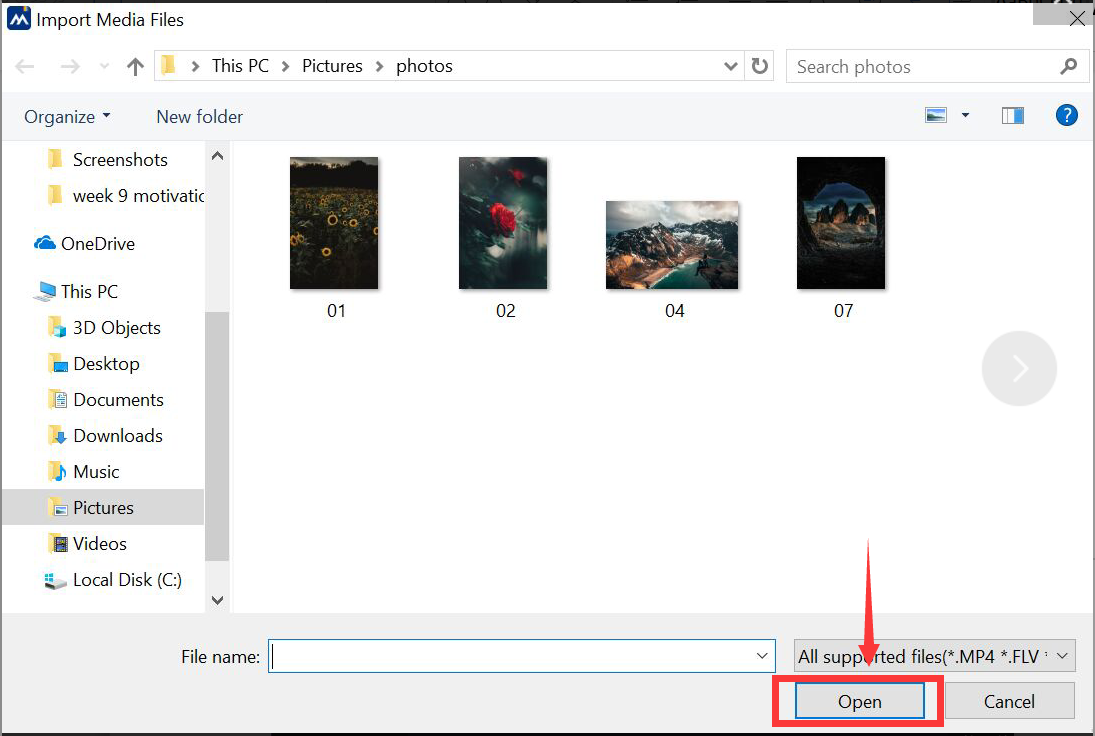
When your images is selected, click the "Open" button on the lower right corner. After doing that, your images will be imported to MovieZilla.
Step 3: Edit
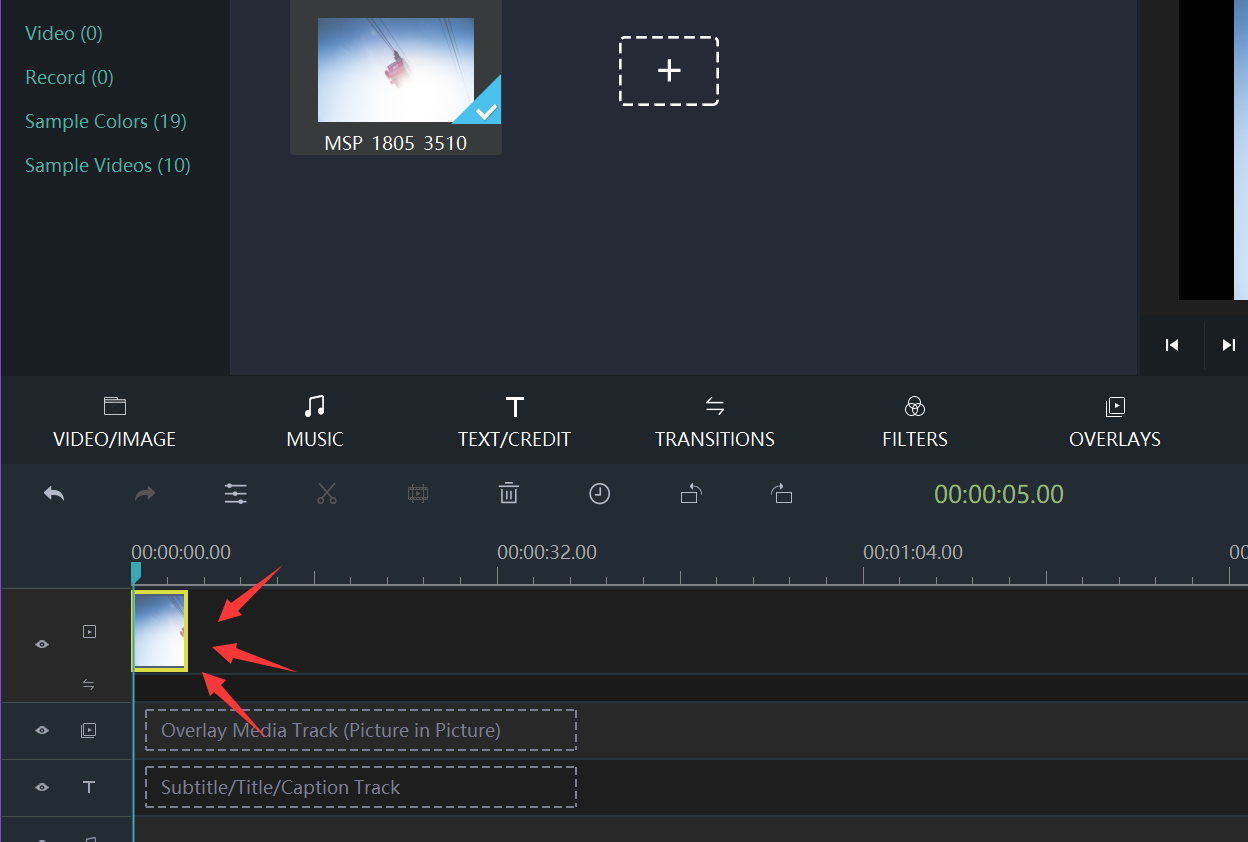
Select your image by clicking it, and a yellow frame will be found after you do this.
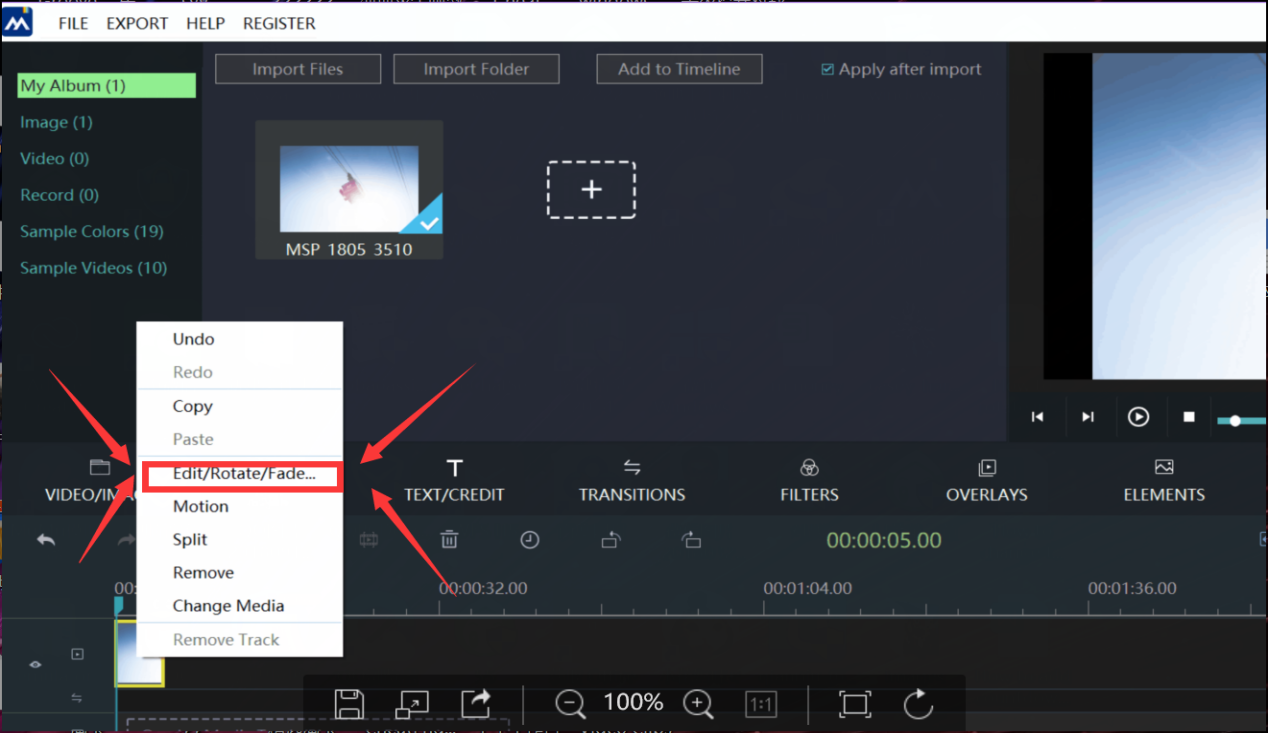
Next, you need to right-click your image, and there will be a list. Find the "edit" on the list and click it, you will enter the edit mode.
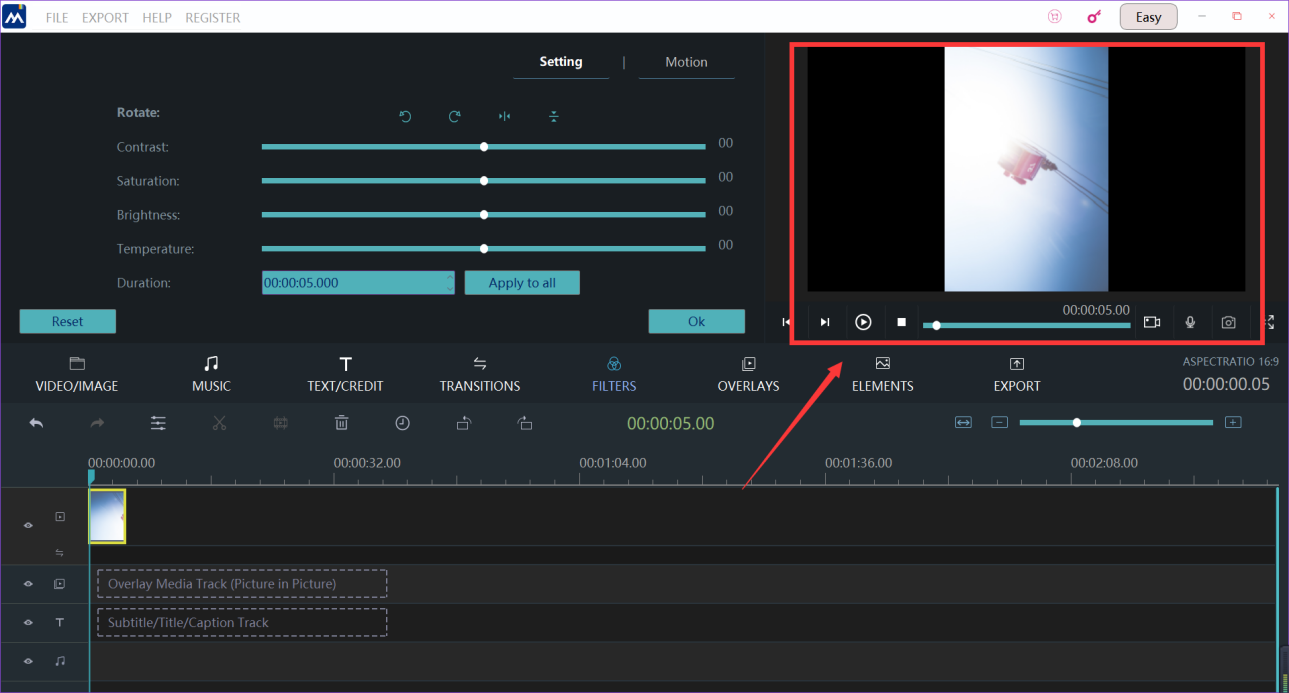
Step 4: Change the playback duration of images
Find the bar named "Duration" and input the playback duration of images.
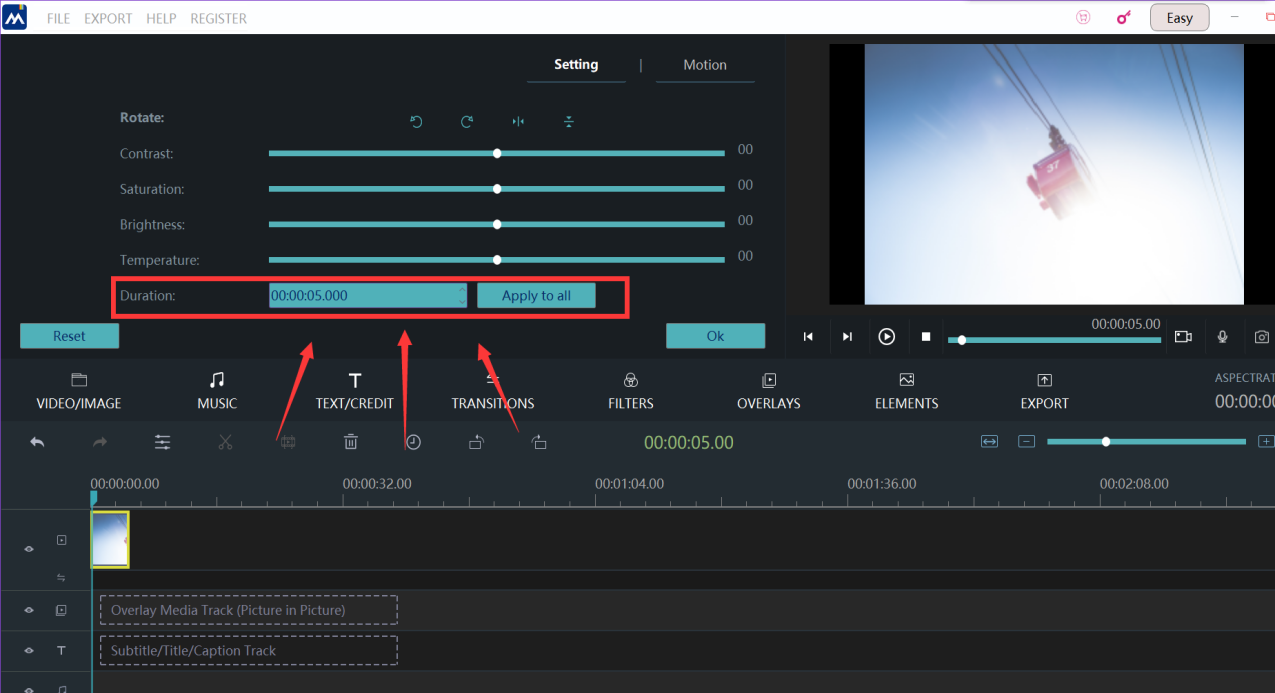
You can see the difference in the preview window to make sure it's satisfying.
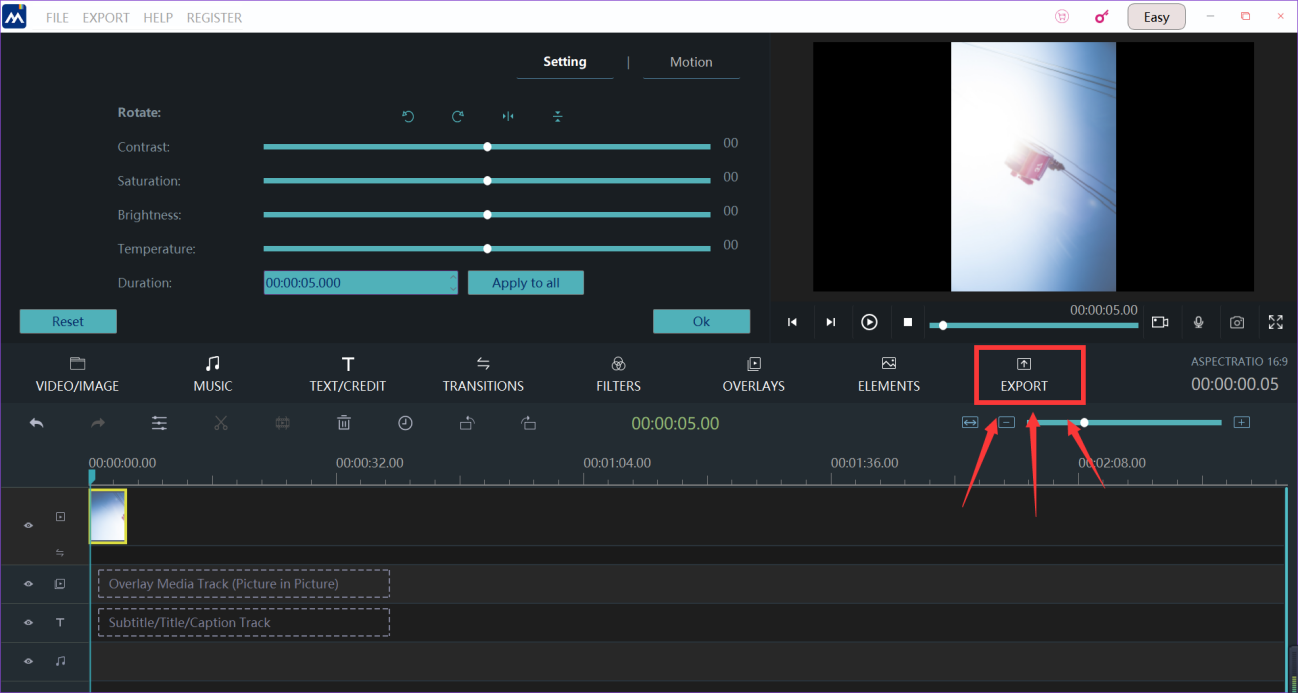
Step 5: Export your slideshow
If you think your slideshow is ready for exporting, click the "export" button.
Now, we come to the the last step. You can change the settings of your slideshow, such as the name of your slideshow, where you want to keep your slideshow, and the resolution settings. When all these are done, you can press the "export" button on the lower-right corner to export the final edition.

These steps are all you need to change the playback duration of images. We sincerely hope this direction could help you to make your slideshow a more attractive one.