How to Set Duration of a Transition
Proper duration is necessary for a transition because it is a way to enhance the correlation between two video clips. You can set different duration to show the specialty of your video as well.
Then, MovieZilla will help you to set duration of a transition in your video for a better watching experience. You can set it easily in a few steps.
Step 1: Import videos and images
First you need to open your MovieZilla with a double-click. Then click the "+" in the middle to import your video and image files here.

Click to select the clip you want to import.
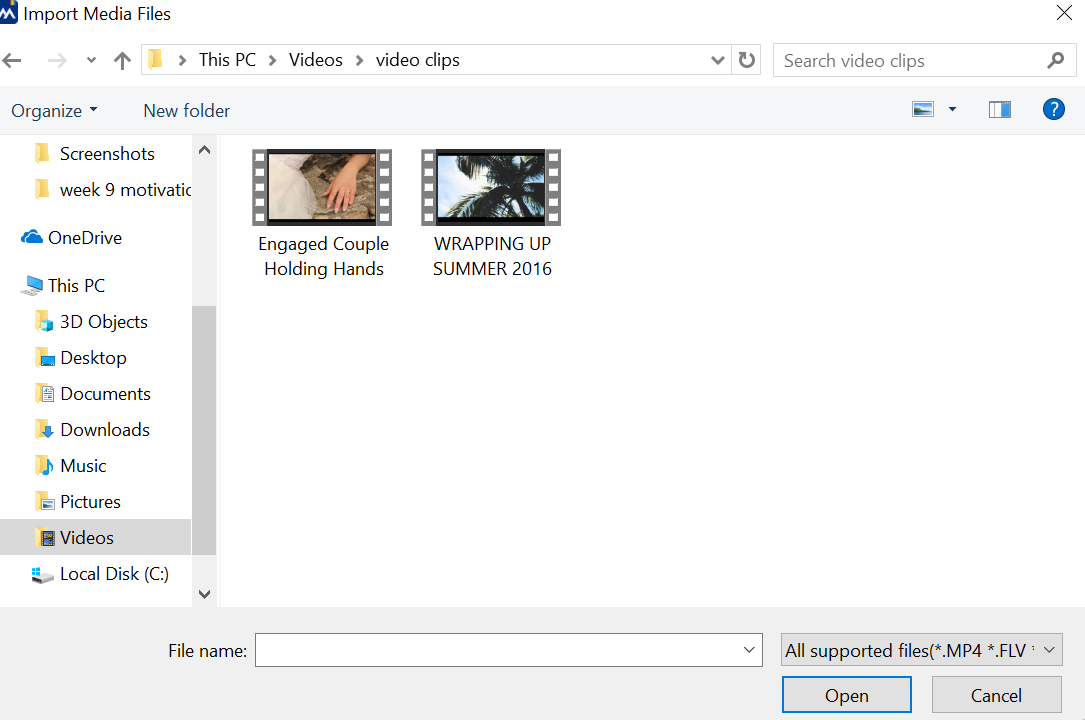
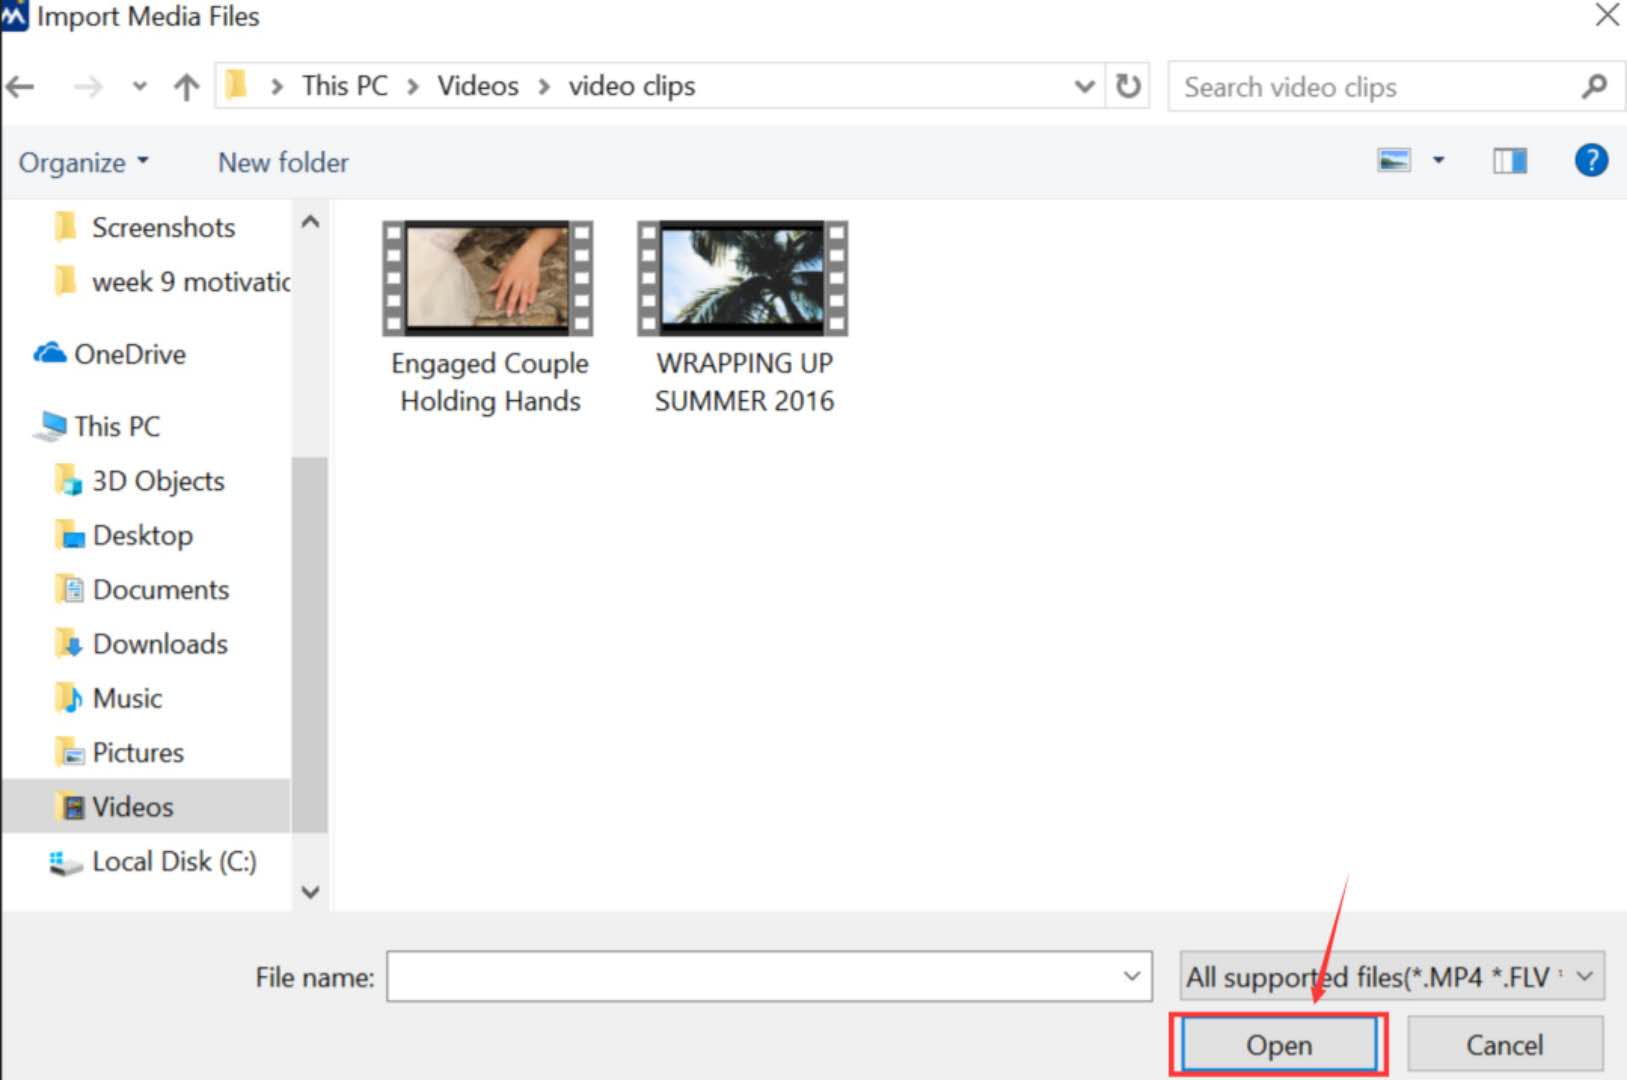
Then click "Open" to import it.
And your clip will be added to Timeline automatically. 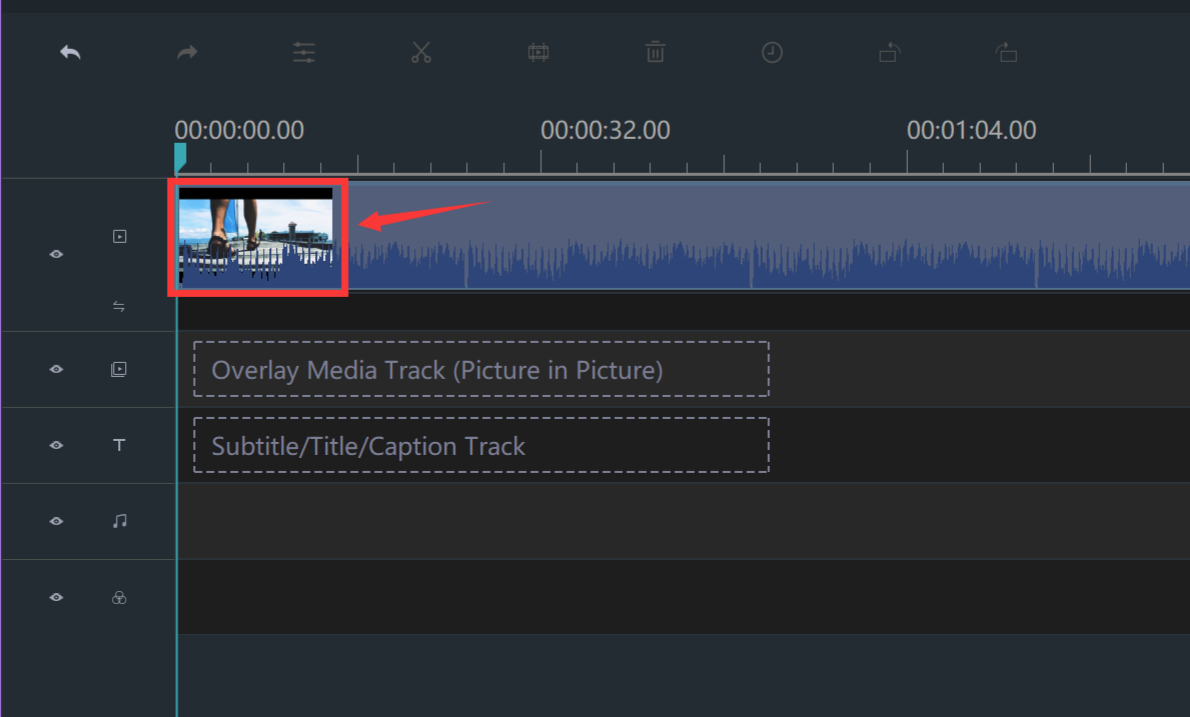
Step 2: Add a transition
Click "TRANSITIONS". 
Choose one transition for your video clips. 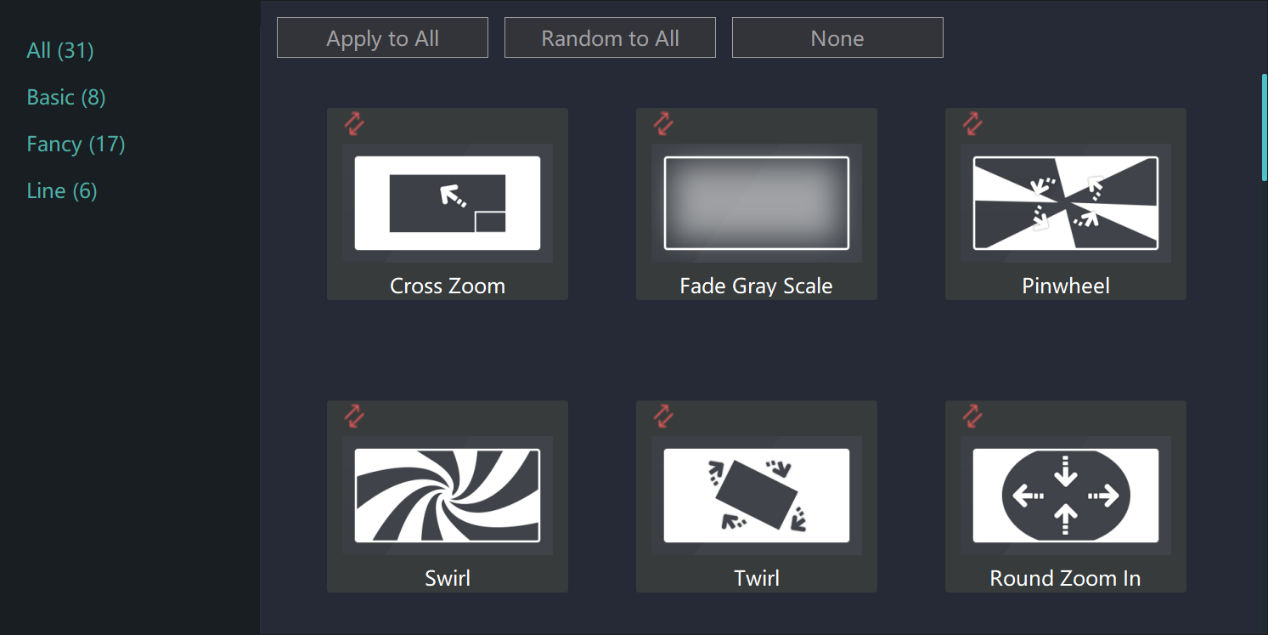
After that, click "Apply to All". 
Now, the transition will be added to timeline automatically.
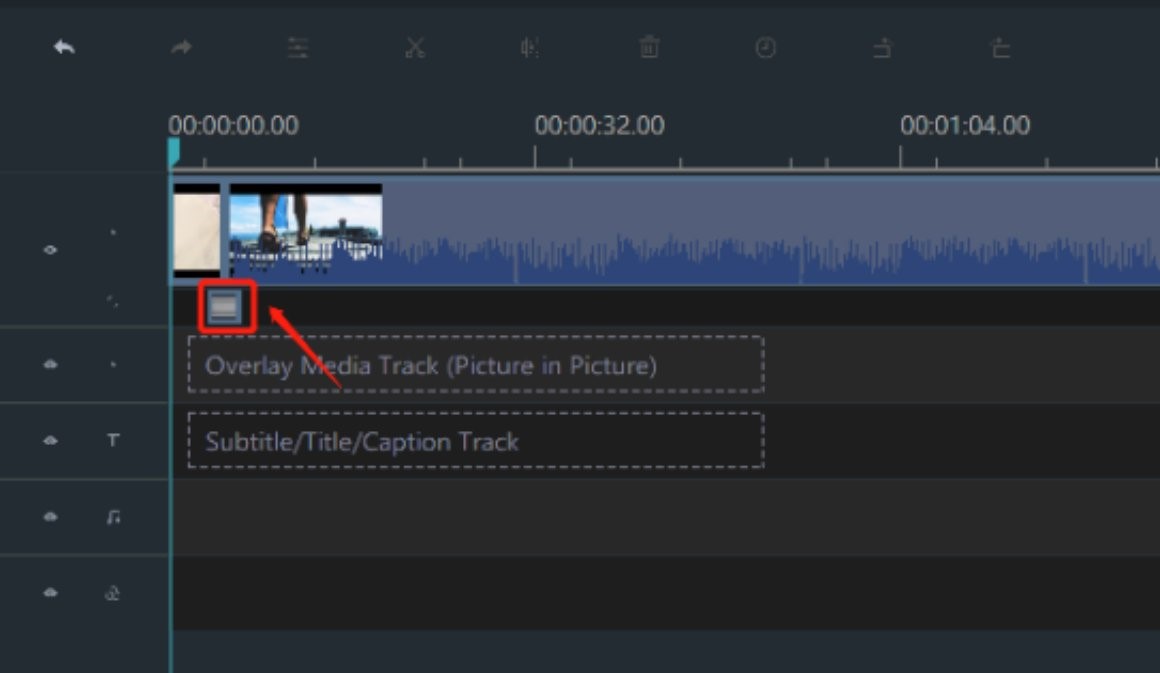
Step 3: Enter the edit mode
Click your transition effect to select it. It would be circled in a yellow frame when selected.
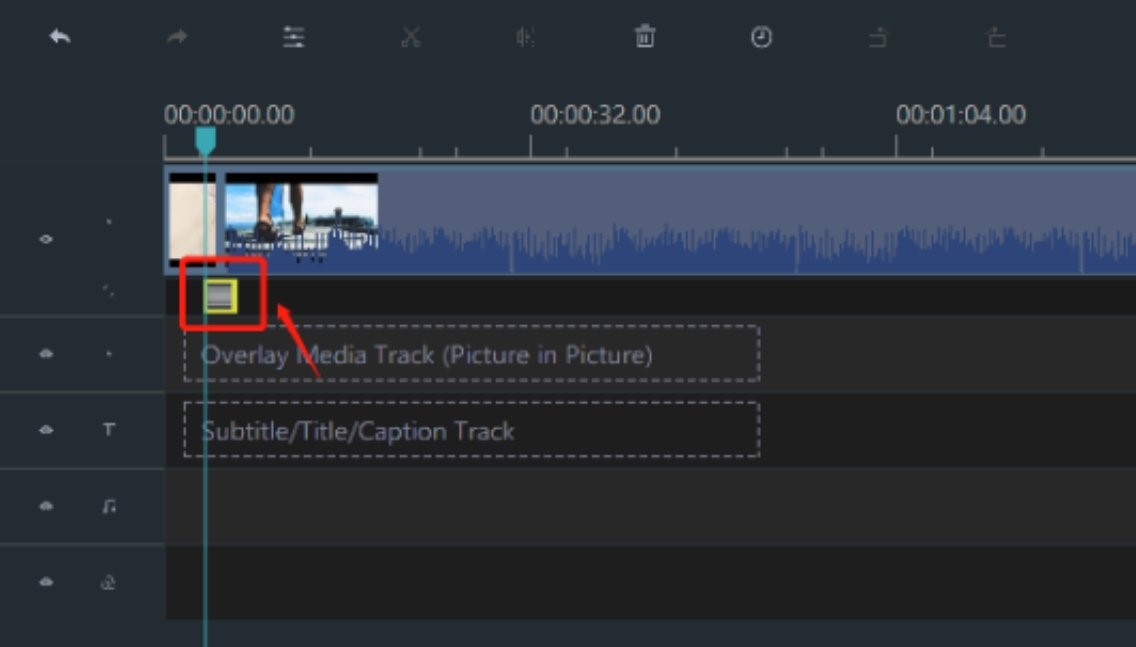
Then right-click to choose "Edit" or just enter the edit mode directly. 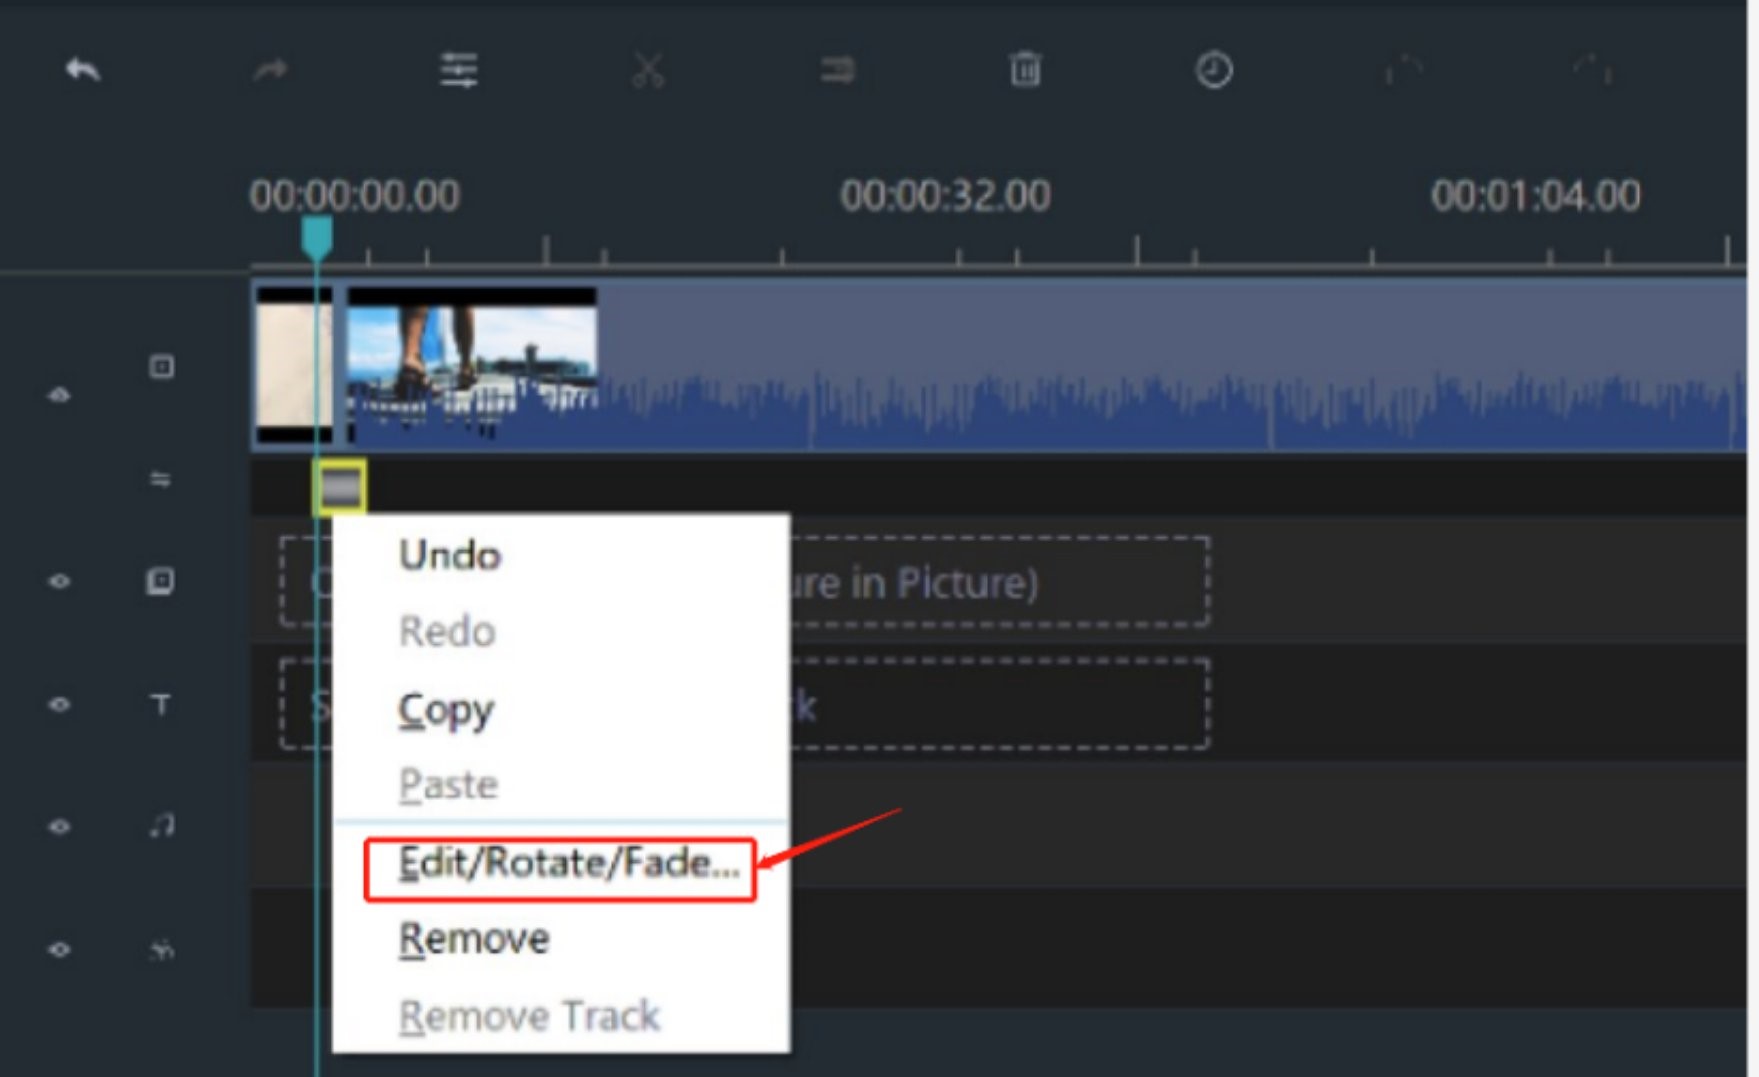
Step 4: Set duration of a transition
Find the "Duration" on the console. 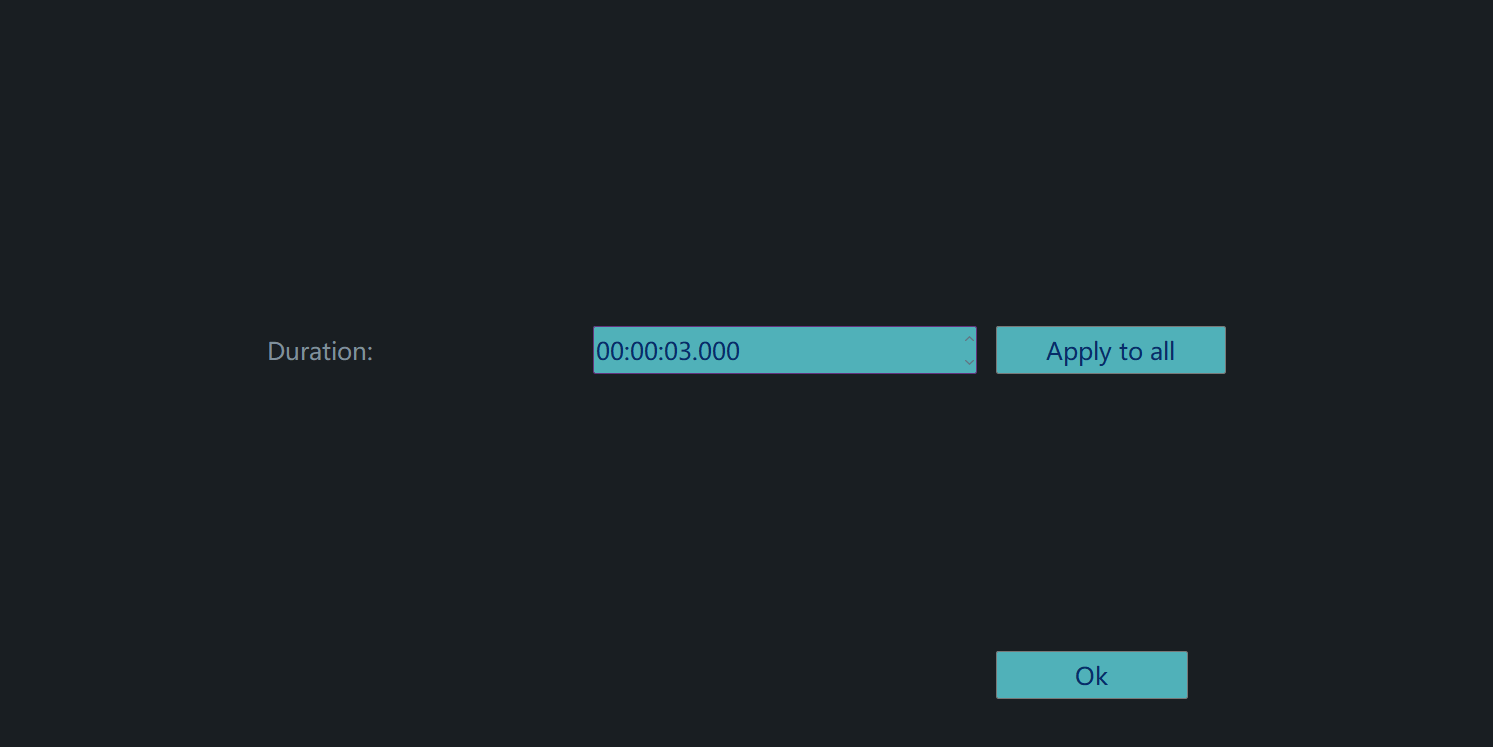
After setting the duration, click "Apply to all". 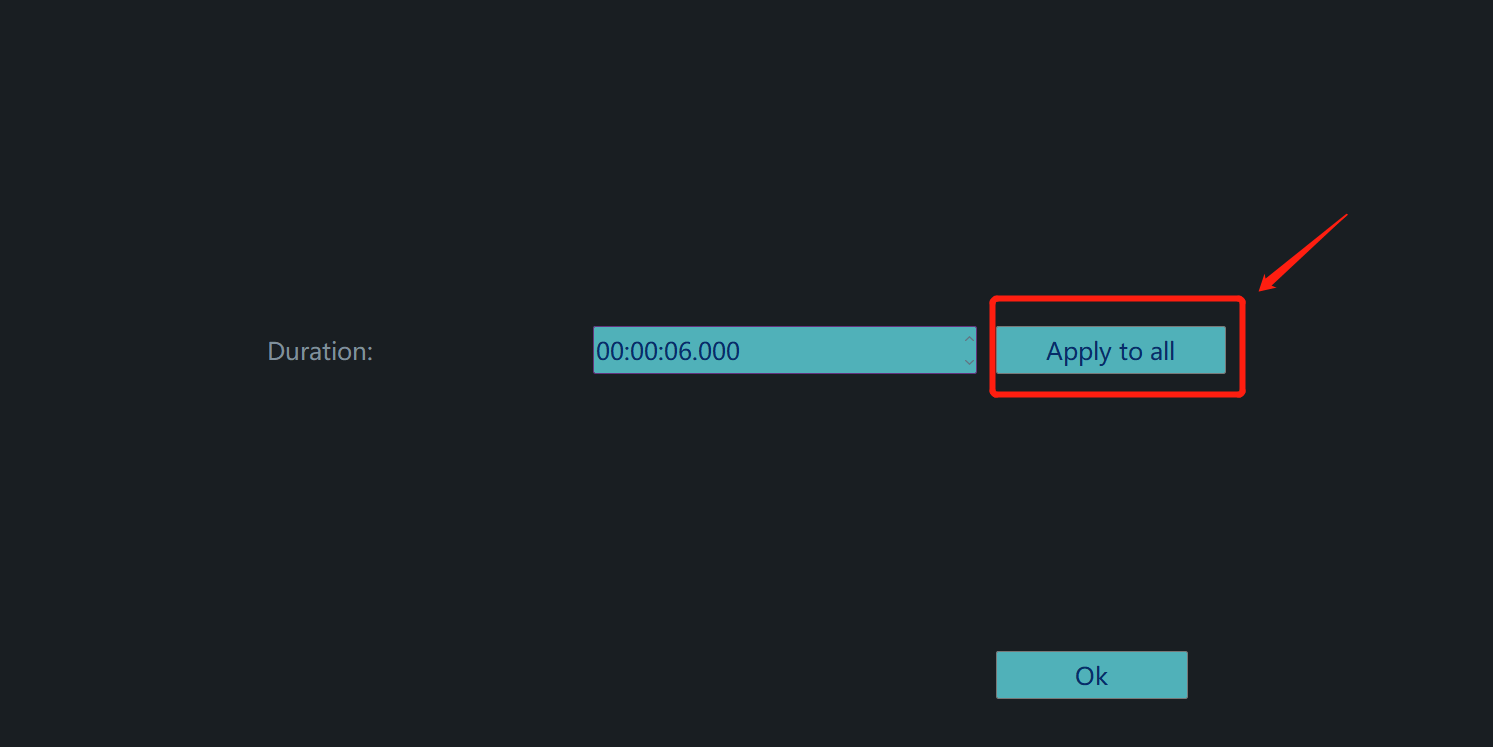
As long as you are satisfied with the duration, please do not forget to save the change by clicking "OK". 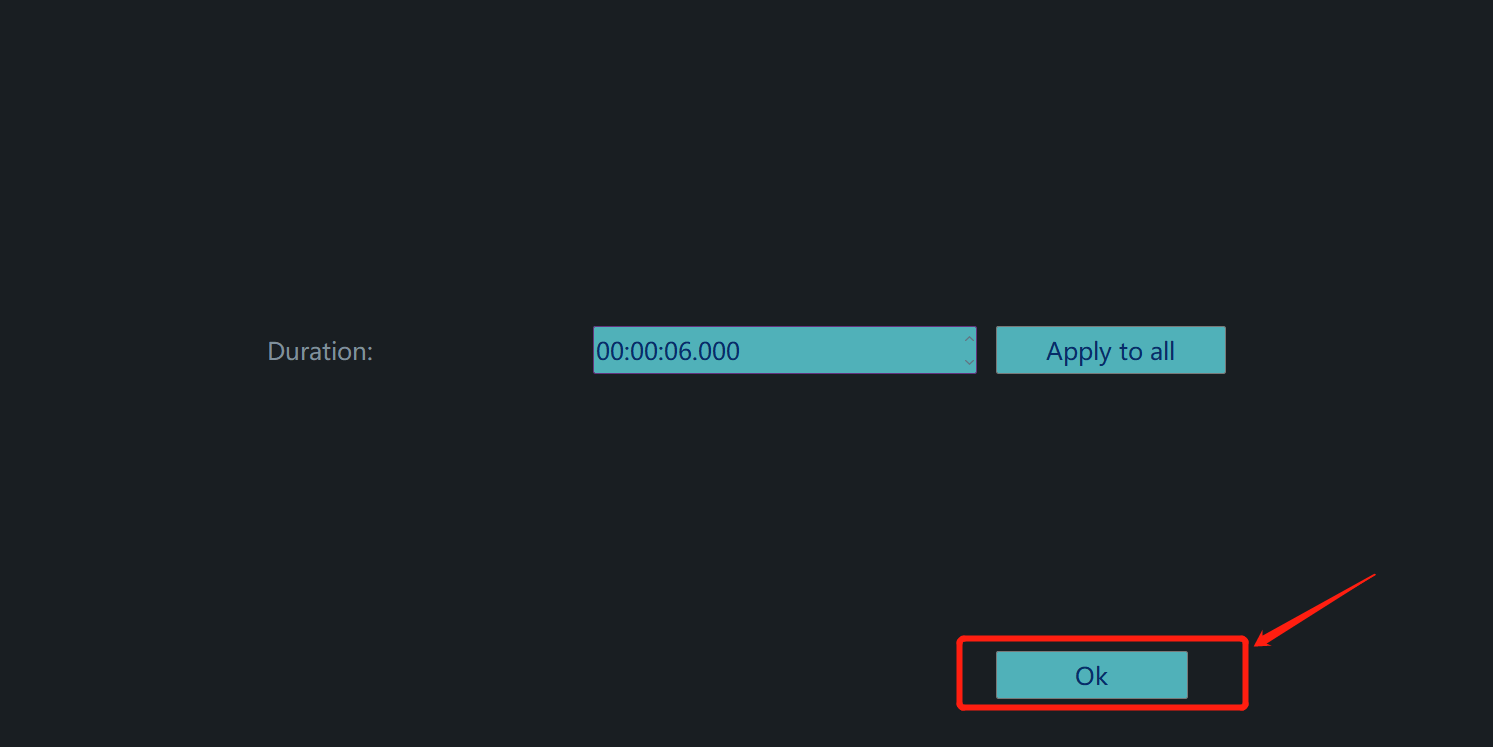
Step 5: Export your video
Just click "EXPORT".

Then choose a format from these two categories.

Rename your video and select the saving location.

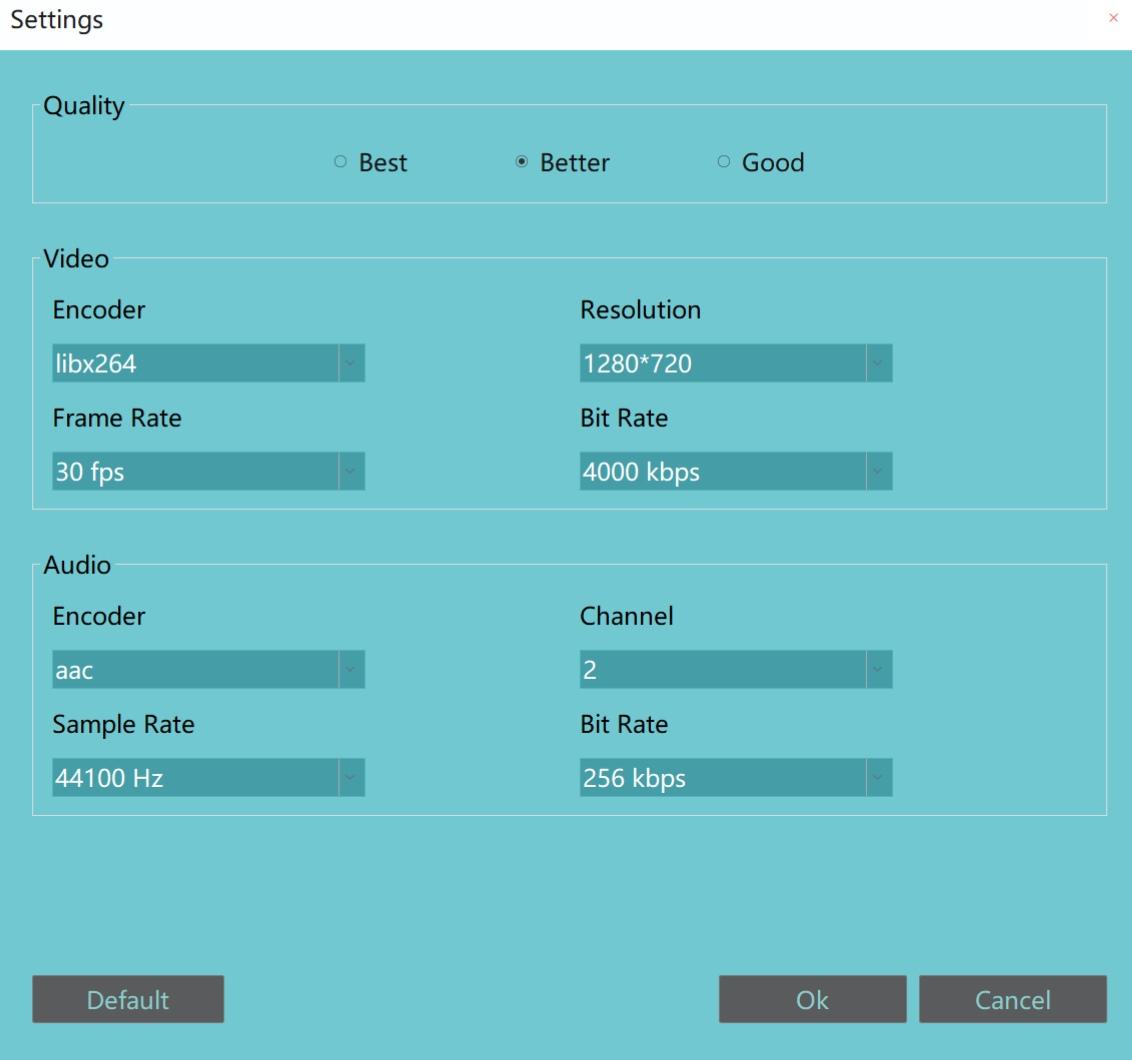
Moreover, you can even change more settings in detail from here.
Finally, you can export it successfully. 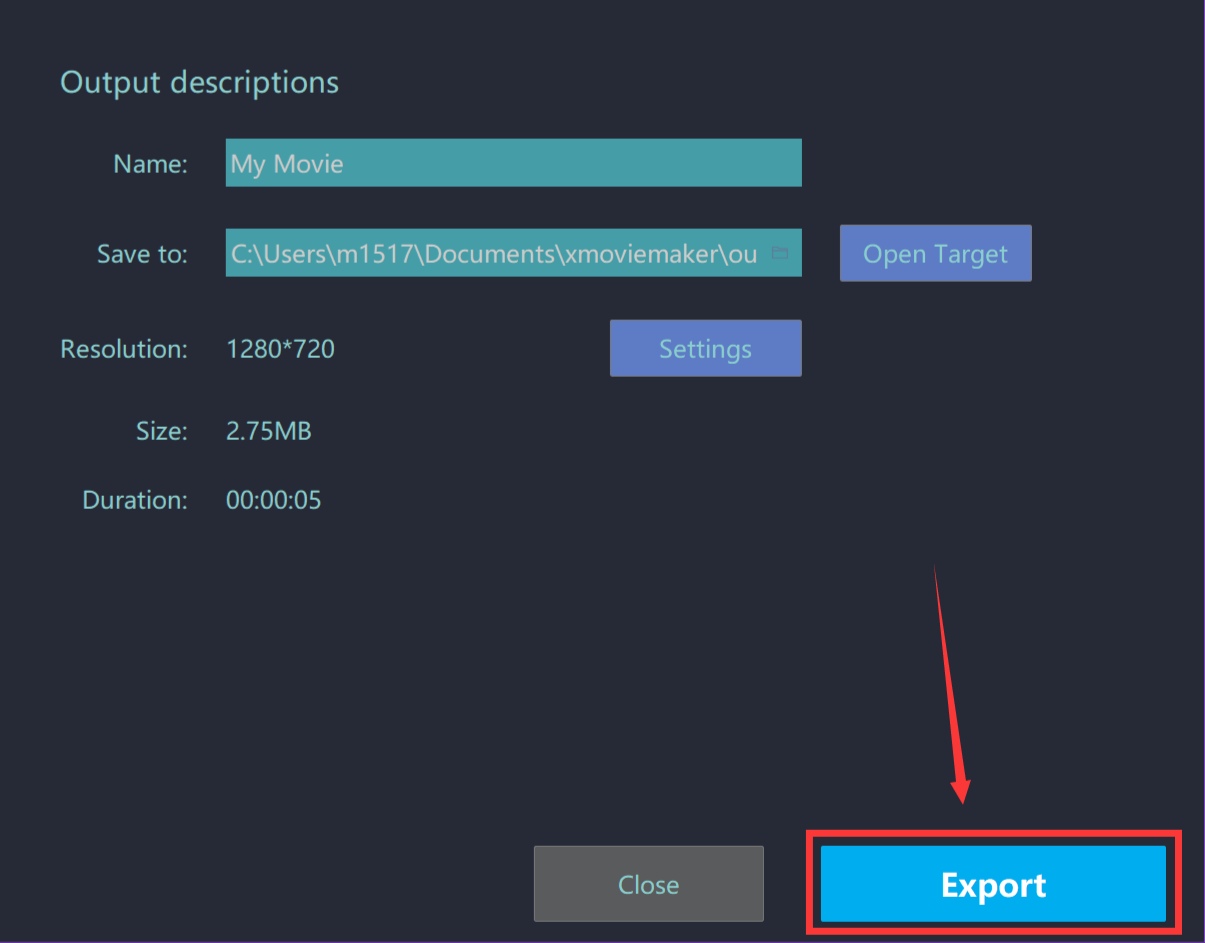
With these five steps, duration of a transition will be set by MovieZilla. After that, hope others would like your video. Lastly, wish this guidance content will help you to make your video look better.